Creating a DIY Home Office Desk for Under $100
- Learn how to build a stylish desk on a budget.
- Step-by-step instructions and essential materials.
- Tips for personalizing your desk to fit your style.
- How to choose the right accessories to enhance functionality.
Setting up a home office can be an exciting yet daunting task, especially when you're on a budget. Fortunately, with a little creativity and effort, you can create a functional and stylish DIY desk for under $100. In this guide, we’ll walk you through the steps of building your very own home office desk that’s tailored to your needs without breaking the bank.
Why Build Your Own Desk?
Opting for a DIY desk offers numerous benefits:
- Cost-effective: Building your own desk allows you to save money compared to purchasing pre-made options.
- Customization: You can design your desk according to your specific needs and style preferences.
- Quality Materials: You have control over the materials used, ensuring durability and aesthetic appeal.
Essential Materials Needed
Before jumping into construction, gather the following materials:
| Material | Estimated Cost |
|---|---|
| Wood (Plywood or MDF) | $30 |
| Wood Screws | $7 |
| Sandpaper | $5 |
| Wood Finish or Paint | $15 |
| Legs/Supports (Pipes or Wood) | $20 |
| Tools (Drill, Saw, etc.) | $20 (if not already owned) |
Step-by-Step Instructions
Step 1: Design Your Desk
Start by sketching out your desk's design. Consider the dimensions based on your workspace and functionality needs. A simple rectangular design is often the most efficient.
Step 2: Cut the Wood
Using your saw, cut the plywood or MDF to the desired size. Make sure to wear safety goggles during this process for protection.
Step 3: Sand the Edges
Once the wood is cut, sand the edges and surfaces until smooth. This will help prevent splinters and give your desk a polished look.
Step 4: Assemble the Frame
Using wood screws, attach your legs or supports to the underside of the desktop. Ensure that the frame is sturdy and can hold weight.
Step 5: Finish the Surface
Apply wood finish or paint to the desk surface. This not only enhances aesthetics but also protects the wood. Let it dry completely before use.
Step 6: Arrange Your Workspace
Once the desk is assembled and finished, it’s time to arrange it in your home office. Consider ergonomic accessories to enhance comfort and productivity. Check out our section on ergonomic accessories for great ideas!
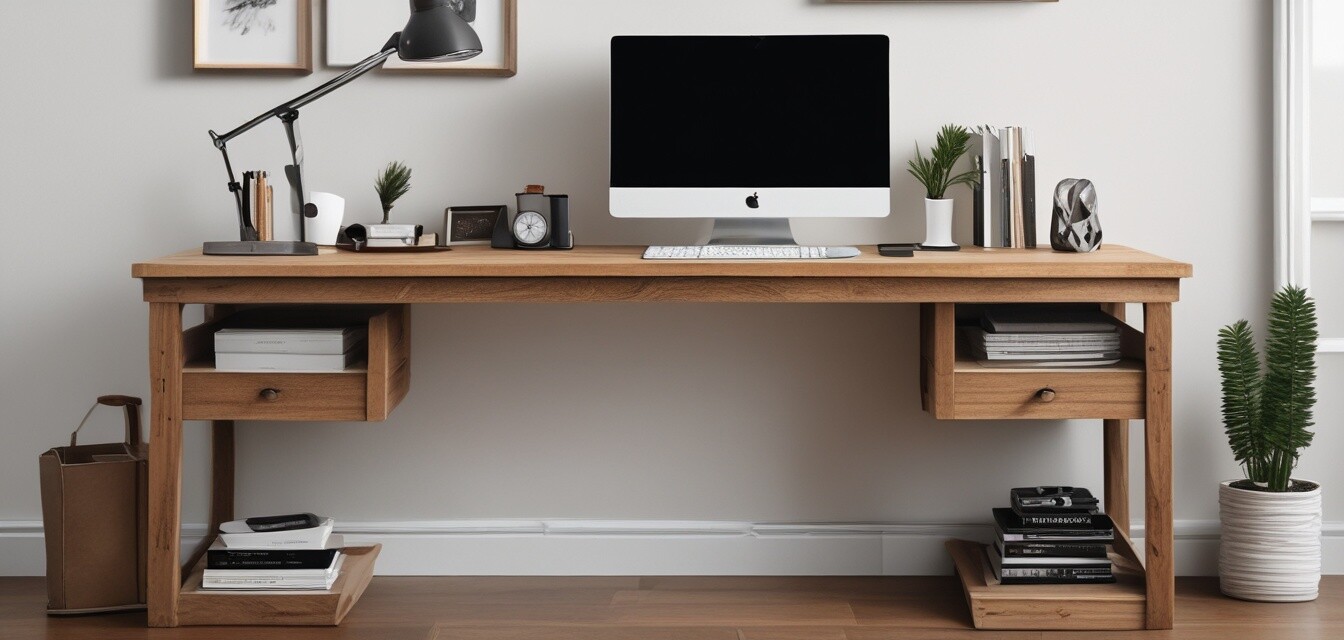
Personalizing Your Desk
After completing your DIY desk, personalize it to reflect your style:
- Add a Desk Mat: A desk mat can brighten up the workspace and protect the surface.
- Decorate with Plants: Plants can add life to your workspace and improve air quality.
- Use Stylish Organizers: Baskets or trays can keep your workspace organized and clutter-free.
Functional Accessories
Enhance your new desk with functional accessories:
- Computer peripherals for better connectivity and usability.
- Docking stations for seamless multi-device integration.
- Multi-monitor setups for increased productivity.
- Networking solutions to ensure a stable and fast internet connection.
Pros
- Cost-effective solution for a home office setup.
- Fully customizable to fit personal needs.
- Can be a creative and fun project.
Cons
- Requires some basic woodworking skills.
- Time-consuming compared to purchasing a ready-made desk.
- Initial materials cost may vary based on choice.
Final Thoughts
Building your own home office desk can be a rewarding and cost-effective way to create a workspace that suits your preferences and needs. With the steps provided, you can create a stylish area that reflects your personality while staying within your budget. Remember, the key is to plan carefully and enjoy the process of creating something uniquely yours. Happy building!