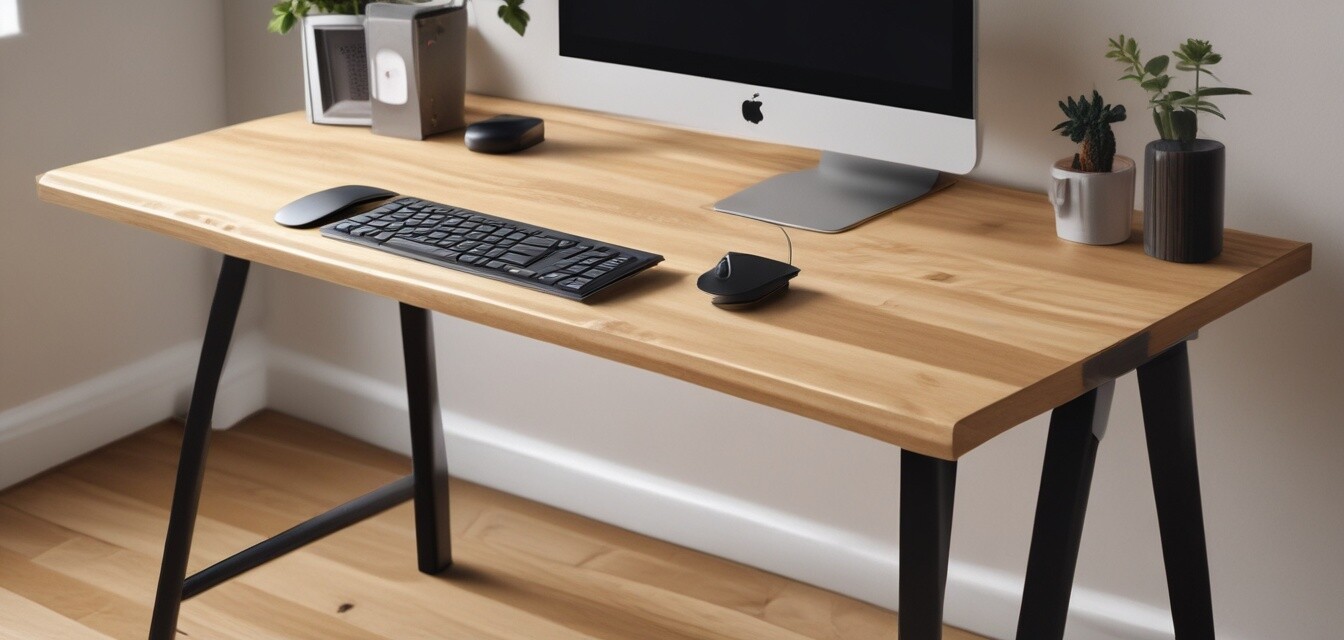
How to Build a Standing Desk on a Budget
Key Takeaways
- Building a standing desk can be cost-effective, requiring minimal investment.
- Utilize IKEA furniture or reclaimed materials for budget-friendly options.
- Measure your workspace to ensure the right desk height and size.
- Add ergonomic accessories for improved comfort.
- Explore DIY options to customize your desk space effectively.
Are you tired of sitting all day while working from home? A standing desk can be a game-changer for your productivity and well-being. But if you're on a budget, purchasing one from the store can seem daunting. Fortunately, building your own standing desk is not only achievable but also a fun DIY project! In this article, we’ll guide you step-by-step on how to build a standing desk without breaking the bank. Let’s dive in!
Why Choose a Standing Desk?
A standing desk can help elevate your work experience. Some benefits include:
- Promotes better posture.
- Increases energy levels and productivity.
- Reduces risk of weight gain and related health issues.
- Customizable to fit your personal style and workspace.
Materials You Will Need
Before starting your project, gather these essential materials:
| Material | Purpose |
|---|---|
| Wood (Plywood or MDF) | Desktop surface |
| Desk legs (metal or wood) | Support structure |
| Wood screws | Assembly |
| Sandpaper | Smoothing edges |
| Wood finish or paint | Protective layer |
Step-by-Step Instructions
Step 1: Measure Your Workspace
Before cutting any materials, it’s crucial to measure where you will place your desk. Ensure that the height will accommodate you in a standing position.
Step 2: Cut the Wood
Using a saw, cut the wood to your desired desktop size. Standard sizes vary between 48-60 inches in width.
Step 3: Assemble the Legs
Attach your desk legs to the underside of the desktop using wood screws.
Step 4: Smooth and Finish
Use sandpaper to smooth any rough edges. Apply wood finish or paint to match your style.
Step 5: Final Assembly
Once everything is dry, flip the desk over, and you’re ready to go!
Enhancing Your Standing Desk
Consider adding these ergonomic accessories to enhance your standing desk setup:
Cost Considerations
Building your own standing desk is usually more cost-effective than purchasing one ready-made. Costs may vary depending on materials:
| Material | Cost Estimation |
|---|---|
| Wood (Plywood or MDF) | Approximately $30-$70 |
| Desk Legs | Approx $20-$50 |
| Finishing Supplies | Approx $15-$30 |
| Total Estimated Cost | $65-$150 |
Common Mistakes to Avoid
Here are some common pitfalls in building a standing desk:
- Not measuring the height correctly for your standing position.
- Purchasing low-quality materials.
- Ignoring the need for stability; ensure the frame is sturdy.
- Overlooking the importance of an ergonomic setup.
Pros
- Customizable to fit your style and needs.
- Can be built using budget-friendly materials.
- Provides the benefits of a standing desk at a fraction of the price.
Cons
- Requires time and effort to build.
- Potential learning curve if you are not familiar with DIY projects.
DIY Tips and Tricks
- Start with a simple design before moving onto more complex ones.
- Make use of online tutorials and resources.
- Incorporate adjustable elements to suit sitting or standing positions.
- Join online forums or groups for community support and inspiration.
Conclusion
With a little creativity and effort, creating your own standing desk can be a rewarding project. Not only will you save money, but you will also have a workspace tailored to suit your style and productivity needs. For more DIY tips, check out our blog on DIY Tips and Tricks.